Developing React Native Apps With Expo and WSL2
tl;dr, use tunneling
If you’re developing React Native apps using Expo and WSL (Windows Subsystem for Linux),
use the --tunnel option when starting a development server:
npx expo start --tunnel
The first time through, you will be prompted to install the ngrok package. Then,
scan the displayed QR code with your mobile, and it will just work.
The full story
Developing React Native apps on Windows is possible, but my instinct was to use WSL, given the UNIX-native nature of NodeJS and other Web tooling. However, I quickly ran into trouble when I couldn’t view my app on my mobile by scanning Expo’s QR code, and extensive Googling didn’t turn up an easy answer.
The root of the issue is that Linux runs in a container, with a virtual network adapter that is not accessible from other devices (namely, my iPhone) on my local network by default.
Notice the 172.x.x.x IP address in the screenshot. This is the container’s
IP address:
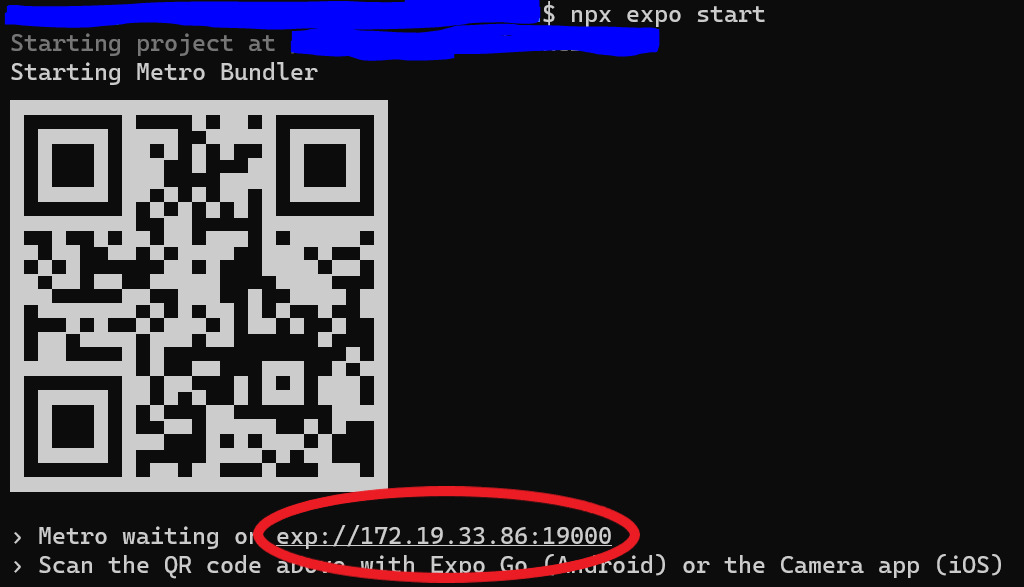 Without tunneling
This address is inaccessible from my iPhone, which is on my home 192.168.1.x network.
By contrast, with the --tunnel option, I see an obfuscated, Internet-accessible
ngrok URL, which works perfectly:
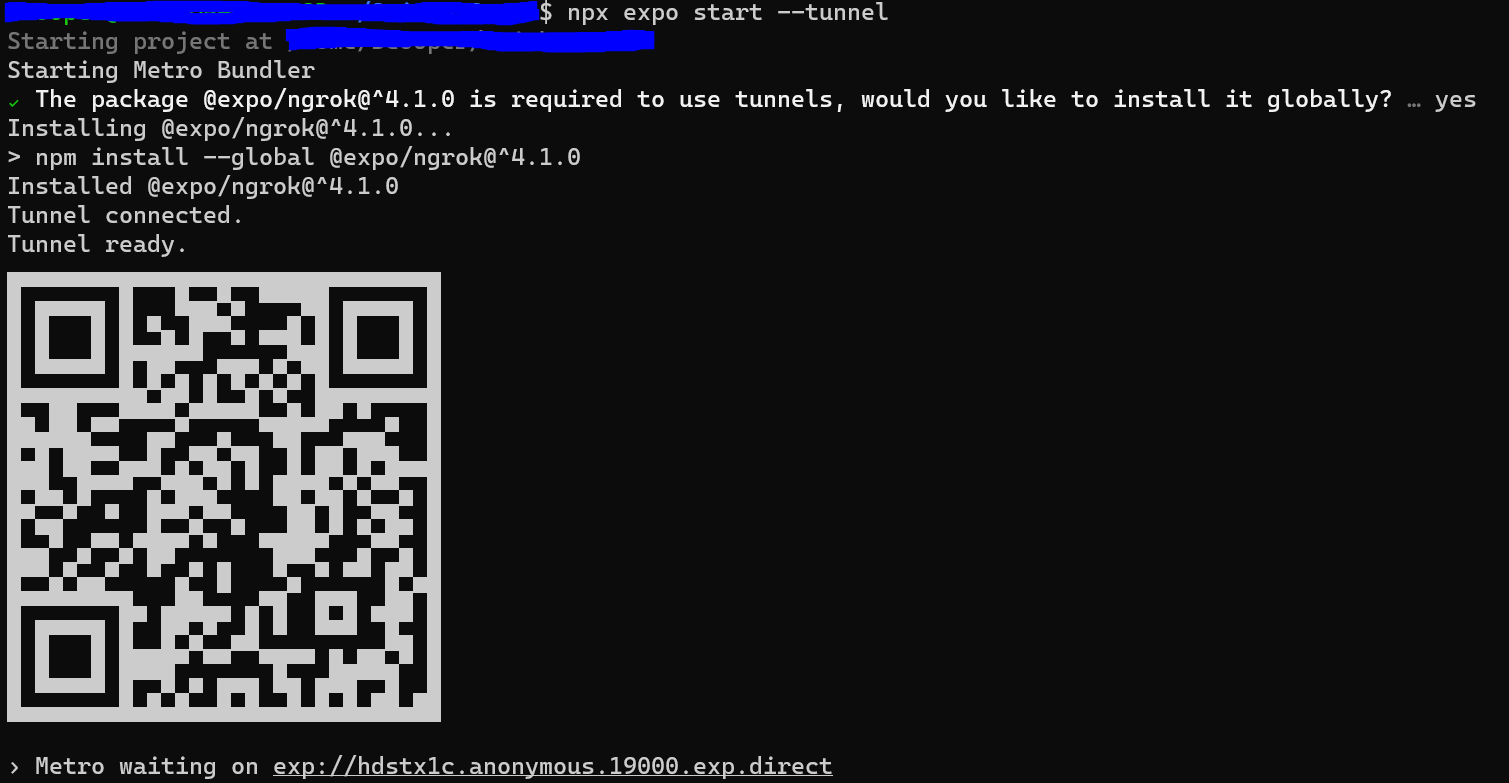 With tunneling – ngrok is only installed the first time
The fine print
Using ngrok exposes your WSL container to the Internet, with the attendant security risks. It also adds some performance overhead.
A more secure and performant option is to configure the Windows firewall to
route Expo traffic to the WSL container
(you may have to edit this script to reference the appropriate ports). I was unable
to get this method to work, either using QR codes or selecting my dev server from the
Expo Go app while logged in. The --tunnel option works either way.